You set up a mailbox, send your first message… and it lands in spam. The cause is almost always missing or misconfigured email authentication. Mailbox providers like Gmail, Outlook, and Yahoo now require that legitimate mail proves where it came from using three DNS records: SPF, DKIM, and DMARC. Get them right and your deliverability jumps. This guide explains what each record does, how to configure them, and how to validate the result.
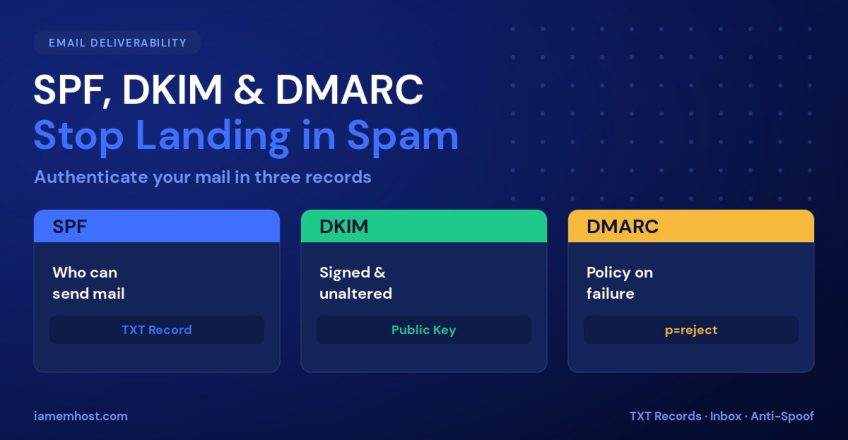
The Three Records at a Glance
| Record | Answers the question | DNS type |
|---|---|---|
| SPF | Which servers are allowed to send for this domain? | TXT |
| DKIM | Was the message altered, and does it carry a valid signature? | TXT |
| DMARC | What should the receiver do if SPF/DKIM fail? | TXT |
All three work together. SPF and DKIM each prove authenticity in different ways; DMARC ties them to your visible From address and tells receivers how to act.
Step 1: SPF (Sender Policy Framework)
SPF is a single TXT record at your domain root listing every server permitted to send mail for it. Publish exactly one SPF record — multiple SPF records are invalid.
# Only your own mail server sends
example.com.  TXT  "v=spf1 a mx -all"

# Your server + Google Workspace
example.com.  TXT  "v=spf1 a mx include:_spf.google.com -all"
The ending qualifier matters: -all (hard fail) means “reject anything not listed” and is the strongest. Use ~all (soft fail) only while testing. Keep total DNS lookups under 10 — too many include: statements break SPF.
Step 2: DKIM (DomainKeys Identified Mail)
DKIM adds a cryptographic signature to every outgoing message; receivers verify it against a public key in your DNS. Generate a key on your mail server — with OpenDKIM, for example:
opendkim-genkey -b 2048 -s mail -d example.com
# Produces mail.private (keep secret) and mail.txt (publish in DNS)
Publish the public key as a TXT record at the selector subdomain (here the selector is mail):
mail._domainkey.example.com. TXT "v=DKIM1; k=rsa; p=MIIBIjANBgkqh..."On cPanel, Plesk, or a Workspace/Microsoft 365 tenant, DKIM is usually a one-click enable that generates the key and shows you the exact record to add — you rarely touch the command line.
Step 3: DMARC
DMARC sits at _dmarc.example.com and tells receivers what to do when a message fails SPF and DKIM, plus where to send reports. Start in monitor mode so you break nothing:
# Phase 1 — monitor only, collect reports
_dmarc.example.com.  TXT  "v=DMARC1; p=none; rua=mailto:dmarc@example.com; fo=1"

# Phase 2 — quarantine a percentage once reports look clean
_dmarc.example.com.  TXT  "v=DMARC1; p=quarantine; pct=25; rua=mailto:dmarc@example.com"

# Phase 3 — full enforcement
_dmarc.example.com.  TXT  "v=DMARC1; p=reject; rua=mailto:dmarc@example.com"
Move from p=none → quarantine → reject over a few weeks, reading the aggregate reports to confirm all your legitimate senders pass before you enforce.
Validating Everything
# Check the published records
dig +short TXT example.com
dig +short TXT mail._domainkey.example.com
dig +short TXT _dmarc.example.com
The fastest real-world test: send an email to a Gmail account, open the message, choose Show original, and confirm SPF, DKIM, and DMARC all read PASS.
Common Mistakes
| Mistake | Result |
|---|---|
| Two SPF records on one domain | SPF is treated as invalid |
| More than 10 SPF DNS lookups | PermError — SPF ignored |
| DKIM key published with line breaks/spaces | Signature fails verification |
Jumping straight to p=reject | Legitimate mail silently rejected |
| Forgetting third-party senders in SPF | Newsletters/CRM mail marked as spam |
Conclusion
SPF says who can send, DKIM proves the message is genuine and unaltered, and DMARC decides what happens when those checks fail. Publish all three, start DMARC in monitor mode, validate with a real Gmail test, and tighten to p=reject once reports are clean. Your mail will land in inboxes instead of spam folders — and your domain becomes far harder to spoof.