This is Part 2 of the MySQL replication setup. Part 1 covered configuring the Primary server and taking a database dump. This guide configures the Replica server and starts replication.
Step 1 — Configure the Replica Server
Edit /etc/my.cnf and add under [mysqld]:
[mysqld]
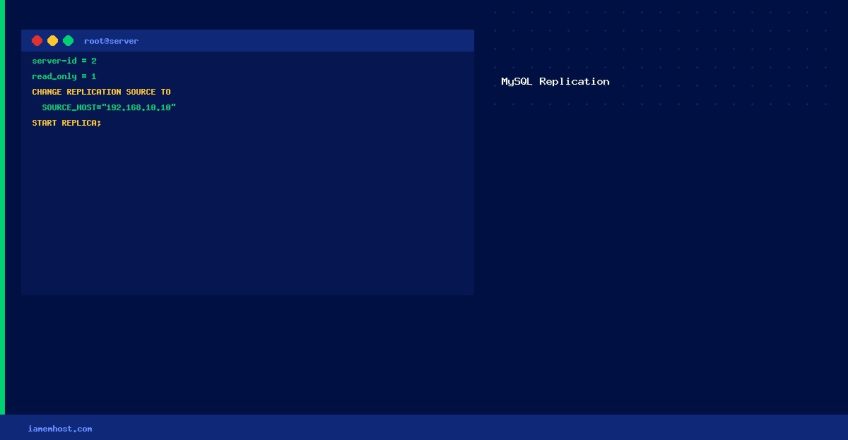
server-id = 2
relay-log = /var/log/mysql/relay-bin.log
log_bin = /var/log/mysql/mysql-bin.log
read_only = 1 # Prevent direct writes to replica (recommended)systemctl restart mysqldStep 2 — Restore the Database Dump on the Replica
# Create the database first
mysql -u root -p -e "CREATE DATABASE myappdb;"

# Import the dump (this may take a while for large databases)
mysql -u root -p myappdb < /tmp/myappdb_dump.sql
Step 3 — Configure the Replica to Connect to the Primary
Use the File and Position values noted from SHOW MASTER STATUS in Part 1:
# MySQL 8.0+ syntax
mysql -u root -p

CHANGE REPLICATION SOURCE TO
  SOURCE_HOST='192.168.10.10',
  SOURCE_USER='replicator',
  SOURCE_PASSWORD='StrongPassword123!',
  SOURCE_LOG_FILE='mysql-bin.000003',
  SOURCE_LOG_POS=154;

-- MySQL 5.7 / MariaDB syntax:
-- CHANGE MASTER TO
--   MASTER_HOST='192.168.10.10',
--   MASTER_USER='replicator',
--   MASTER_PASSWORD='StrongPassword123!',
--   MASTER_LOG_FILE='mysql-bin.000003',
--   MASTER_LOG_POS=154;
Step 4 — Start Replication
# MySQL 8.0+
START REPLICA;

# MySQL 5.7 / MariaDB
# START SLAVE;

# Verify replication status (look for Seconds_Behind_Source = 0)
SHOW REPLICA STATUSG
Step 5 — Verify Replication is Working
# On Primary: insert test data
mysql -h 192.168.10.10 -u root -p myappdb -e "INSERT INTO test_table VALUES (NOW());"

# On Replica: confirm data was replicated
mysql -h 192.168.10.11 -u root -p myappdb -e "SELECT * FROM test_table;"
Common Replication Errors
| Error | Fix |
|---|---|
Seconds_Behind_Source: NULL | Replication not running — check Last_Error field in SHOW REPLICA STATUS |
| Duplicate key error (1062) | Skip: SET GLOBAL SQL_SLAVE_SKIP_COUNTER=1; START REPLICA; |
| Connection refused to Primary | Check firewall allows port 3306 from replica IP |