
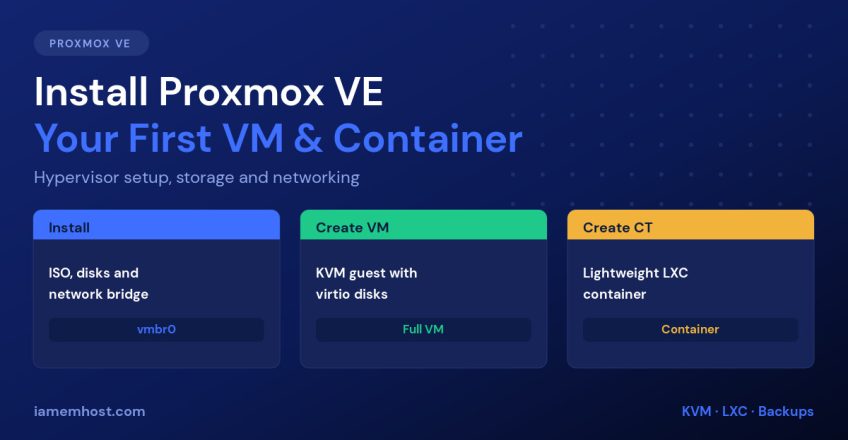

Proxmox VE is an open-source virtualization platform that runs both full KVM virtual machines and lightweight LXC containers from one web interface, with clustering, snapshots and backups included and no licence fee. It is the practical way to turn a single dedicated server into a rack of virtual ones. This guide takes you from bare metal to a running VM and container.
What You Need
| Component | Minimum | Recommended |
|---|---|---|
| CPU | 64-bit with Intel VT-x or AMD-V enabled in BIOS | 8+ cores |
| RAM | 2 GB for the host | 32 GB+ (host needs ~2 GB, rest for guests) |
| Storage | One disk for the host | Two NVMe in ZFS mirror, or hardware RAID |
| Network | 1 NIC | 2 NICs (management separate from guests) |
If virtualization extensions are disabled in the BIOS, KVM guests will not start — check this first, not after the install.
Step 1: Install Proxmox VE
Download the Proxmox VE ISO, write it to a USB stick, and boot the server from it. The installer is short and asks for:
- Target disk and filesystem.
ext4on a single disk is fine; choosezfs (RAID1)across two disks if you want snapshots and built-in redundancy. - Country, timezone and keyboard layout.
- Root password and an administrator email — alerts about failed backups and disk errors go here, so use an address you read.
- Management IP, gateway, DNS and hostname. Use a static IP and a proper FQDN such as
pve1.example.com.
After the reboot, the console prints the panel URL. Open https://your-server-ip:8006 and log in as root with realm Linux PAM. The certificate warning is expected on first boot.
Step 2: Fix the Repositories
A fresh install points at the enterprise repository, which needs a subscription, so apt update fails. Switch to the free no-subscription repo:
# Disable the enterprise repos
sed -i 's/^deb/#deb/' /etc/apt/sources.list.d/pve-enterprise.list
sed -i 's/^deb/#deb/' /etc/apt/sources.list.d/ceph.list 2>/dev/null

# Add the no-subscription repo — match the Debian codename to your PVE release
# (bookworm for PVE 8, trixie for PVE 9)
CODENAME=$(. /etc/os-release; echo "$VERSION_CODENAME")
echo "deb http://download.proxmox.com/debian/pve $CODENAME pve-no-subscription" \
  > /etc/apt/sources.list.d/pve-no-subscription.list

apt update && apt dist-upgrade -y
pveversion
The no-subscription repo is free and stable enough for home labs and small deployments. For business-critical systems, buy a subscription — you get the more conservatively tested enterprise repo and support.
Step 3: Understand the Network Bridge
Proxmox creates a Linux bridge called vmbr0 and attaches your physical NIC to it. Every VM and container connects to vmbr0 and appears on your LAN as its own device with its own IP — this is what you want in most setups.
cat /etc/network/interfaces

# Typical bridged configuration
auto vmbr0
iface vmbr0 inet static
        address 192.168.1.10/24
        gateway 192.168.1.1
        bridge-ports enp1s0
        bridge-stp off
        bridge-fd 0
On a rented dedicated server where the provider only routes one IP to your MAC address, bridging won’t work — create a second, internal bridge (vmbr1) with no physical port and NAT the guests behind it using iptables masquerading.
Step 4: Upload an ISO
In the GUI: Datacenter » your node » local (pve) » ISO Images » Upload. Or pull it straight onto the server:
cd /var/lib/vz/template/iso
wget https://cdimage.debian.org/debian-cd/current/amd64/iso-cd/debian-12.11.0-amd64-netinst.iso
Step 5: Create Your First KVM Virtual Machine
Click Create VM in the top right and work through the tabs. The settings that matter:
- OS — select your uploaded ISO and the matching guest OS type.
- System — machine type
q35, BIOSOVMF (UEFI)for modern guests, and tick QEMU Agent. - Disks — bus
VirtIO SCSI, controllerVirtIO SCSI single, and enable Discard so deleted space is returned to your SSD. - CPU — set type to
hostfor full instruction-set performance (leave it asx86-64-v2-AESif you plan to live-migrate between different CPU models). - Network — model
VirtIO (paravirtualized)on bridgevmbr0.
The equivalent from the shell:
qm create 100 \
  --name web01 \
  --memory 4096 --cores 2 --cpu host \
  --net0 virtio,bridge=vmbr0 \
  --scsihw virtio-scsi-single \
  --scsi0 local-lvm:32,discard=on,ssd=1 \
  --ide2 local:iso/debian-12.11.0-amd64-netinst.iso,media=cdrom \
  --boot order='ide2;scsi0' \
  --agent enabled=1 \
  --ostype l26

qm start 100
qm status 100
Open the Console tab and install the OS as you would on real hardware. Install qemu-guest-agent inside the guest afterwards so Proxmox can report its IP and shut it down cleanly.
Step 6: Create an LXC Container
Containers boot in under a second and use a fraction of the RAM — ideal for reverse proxies, DNS, monitoring or a small database. First download a template:
pveam update
pveam available | grep debian
pveam download local debian-12-standard_12.7-1_amd64.tar.zst
Then create and start it:
pct create 200 local:vztmpl/debian-12-standard_12.7-1_amd64.tar.zst \
  --hostname proxy01 \
  --memory 2048 --swap 512 --cores 2 \
  --rootfs local-lvm:16 \
  --net0 name=eth0,bridge=vmbr0,ip=dhcp \
  --unprivileged 1 \
  --features nesting=1 \
  --password

pct start 200
pct enter 200
Always use --unprivileged 1. Unprivileged containers map root inside the container to an unprivileged user on the host, which is the difference between a container escape being a nuisance and being a full compromise.
Step 7: Snapshots and Backups
Snapshots are instant rollback points for risky changes; backups are your disaster recovery. You need both.
# Snapshot before an upgrade, roll back if it goes wrong
qm snapshot 100 before-upgrade
qm rollback 100 before-upgrade

# Backup a guest (snapshot mode keeps it running)
vzdump 100 --storage local --mode snapshot --compress zstd

# Backup everything except VM 105
vzdump --all --exclude 105 --storage local --mode snapshot --compress zstd
Schedule recurring jobs under Datacenter » Backup, and send them somewhere other than the host’s own disks — NFS, an SMB share, or a Proxmox Backup Server. A backup stored on the machine it protects is not a backup.
Conclusion
Proxmox VE gives you enterprise virtualization on commodity hardware for free. Install it, switch to the no-subscription repository, confirm vmbr0 bridges to your network, then create a KVM VM for anything needing its own kernel and an LXC container for lightweight services. Add scheduled backups to off-host storage on day one, and you have a virtualization platform that will comfortably run a dozen workloads on a single server.