Serving your site over HTTPS is no longer optional — browsers flag plain HTTP as “Not Secure,” and Google uses HTTPS as a ranking signal. But migrating carelessly can tank your search rankings overnight through broken redirects, duplicate URLs, and mixed-content warnings. This guide walks through moving from HTTP to HTTPS the right way, so you gain the security and SEO benefits without losing any traffic.
Why Migrate to HTTPS?
- Security — encrypts data between visitor and server, protecting logins and forms.
- SEO — HTTPS is a confirmed (if light) Google ranking factor.
- Trust — removes the browser’s “Not Secure” warning that scares visitors away.
- Modern features — HTTP/2, HTTP/3, and many browser APIs require HTTPS.
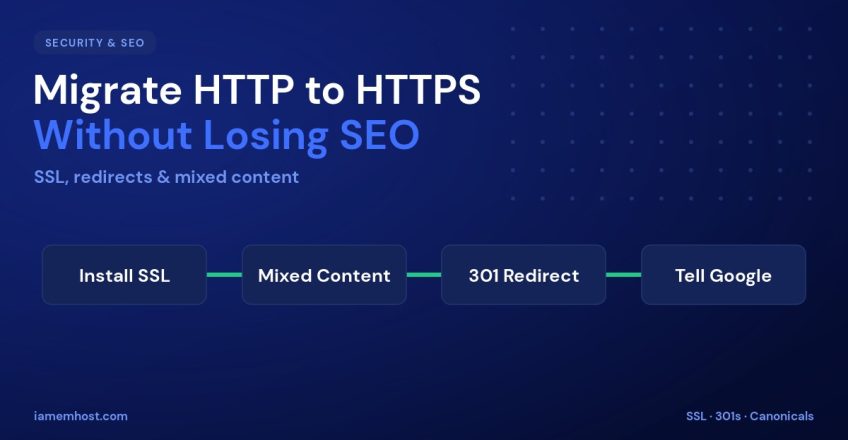
Step 1: Install an SSL Certificate
Start by installing a certificate. A free Let’s Encrypt certificate is perfect for most sites — via Certbot on a VPS, or one-click AutoSSL on cPanel. Once installed, confirm your site loads on https:// before changing anything else.
sudo certbot --nginx -d example.com -d www.example.comStep 2: Fix Mixed Content
Mixed content is the most common migration headache: an HTTPS page that still loads images, scripts, or stylesheets over HTTP. Browsers block or warn on these, breaking the padlock. Update internal references to use HTTPS (or protocol-relative paths), and update any hard-coded URLs in your database. On WordPress:
# Update the site URL, then search-replace old links (WP-CLI)
wp option update home 'https://example.com'
wp option update siteurl 'https://example.com'
wp search-replace 'http://example.com' 'https://example.com' --skip-columns=guid
Use your browser’s DevTools console to find any remaining insecure requests on each template.
Step 3: Set Up 301 Redirects
This is the step that protects your SEO. A 301 (permanent) redirect sends every HTTP URL — and the link equity it has earned — to its HTTPS counterpart. Redirect all HTTP traffic site-wide:
# Nginx
server {
    listen 80;
    server_name example.com www.example.com;
    return 301 https://$host$request_uri;
}
# Apache / .htaccess
RewriteEngine On
RewriteCond %{HTTPS} off
RewriteRule ^ https://%{HTTP_HOST}%{REQUEST_URI} [L,R=301]Step 4: Update Canonicals and Internal Links
Make sure every page’s canonical tag points to the HTTPS version, and update internal links to HTTPS so visitors and crawlers don’t bounce through a redirect on every click. An SEO plugin like Yoast handles canonicals automatically once the site URL is HTTPS.
Step 5: Tell Google and Update Tools
| Task | Why |
|---|---|
| Add the HTTPS property in Search Console | Google treats it as a separate site |
| Submit your updated XML sitemap | Speeds up re-crawling of HTTPS URLs |
| Update Google Analytics default URL | Keeps reporting accurate |
| Update backlinks you control / CDN origin | Avoids unnecessary redirect hops |
Step 6: Enable HSTS (Optional but Recommended)
Once you’re confident everything works on HTTPS, add an HSTS header to tell browsers to always use HTTPS for your domain, eliminating the initial insecure request entirely:
Strict-Transport-Security: max-age=31536000; includeSubDomains; preloadOnly enable HSTS after verifying HTTPS is fully working — it’s hard to undo because browsers cache the policy.
Conclusion
A clean HTTP-to-HTTPS migration is a sequence, not a single switch: install the certificate, fix mixed content, add site-wide 301 redirects, update canonicals and internal links, then tell Google. Do it in that order and you’ll keep every bit of your search ranking while finally earning the padlock — and the trust that comes with it.

Domain Name vs Web Hosting: What’s the Difference?
Iamem Hosting