cPanel servers running EasyApache 4 can install Apache Tomcat for serving Java web applications. This guide covers installing Tomcat via WHM’s EasyApache 4 interface and the command line.
Method 1: WHM GUI (EasyApache 4)
- Log in to WHM as root
- Navigate to Software → EasyApache 4
- Click Customize on your current profile
- Click the Tomcat as a Service tab
- Enable ea-tomcat85 (Tomcat 8.5) or the latest available version
- Click Review → Provision to install
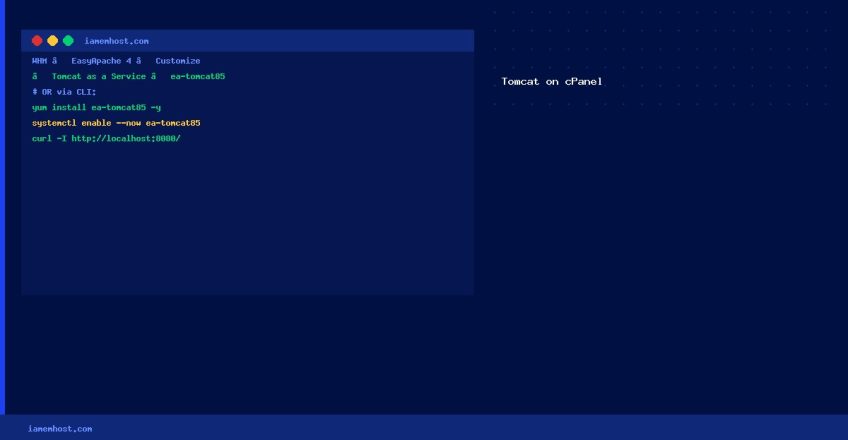
Method 2: Command Line
# Install Tomcat 8.5 via YUM
yum install ea-tomcat85 -y

# Start and enable the service
systemctl enable ea-tomcat85
systemctl start ea-tomcat85

# Check status
systemctl status ea-tomcat85
Configure Tomcat Memory (Optional)
# Create or edit the options file to adjust JVM heap
vi /var/cpanel/tomcat.options
# Add:
-Xms512M
-Xmx1024M

# Restart to apply
systemctl restart ea-tomcat85
Verify Installation
# Tomcat runs on port 8080 by default
curl -I http://localhost:8080/
# Should return HTTP/1.1 200

# Check Tomcat version
/opt/cpanel/ea-tomcat85/bin/version.sh
Enable Tomcat for a cPanel Account
Once installed, individual cPanel accounts can enable Java Tomcat via their cPanel → Advanced → Tomcat Manager section (if enabled in WHM → Feature Manager).
Restore a Single Table from a MySQL Dump File
Iamem HostingHow to Check Bandwidth Usage on cPanel and WHM
Iamem Hosting