

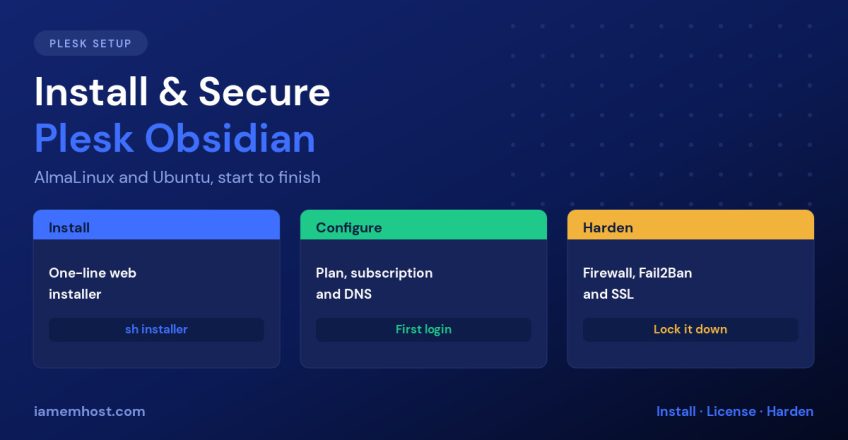

Plesk Obsidian is the most practical control panel choice when you need one interface across Linux and Windows, a modern UI, and first-class WordPress tooling. Installing it takes about twenty minutes; securing it properly takes another twenty, and that second part is the one people skip. This guide walks through a complete install on AlmaLinux and Ubuntu, then the hardening steps that should happen before the server ever hosts a live site.
Server Requirements
| Resource | Minimum | Realistic for production |
|---|---|---|
| OS | AlmaLinux 8/9, Rocky 8/9, Ubuntu 20.04/22.04/24.04, Debian 11/12 | AlmaLinux 9 or Ubuntu 24.04 |
| RAM | 2 GB | 4–8 GB |
| Disk | 32 GB | 80 GB+ NVMe |
| Install type | Clean OS, no web server installed | Fresh VPS or dedicated server |
Install Plesk on a clean server. If Apache, Nginx, MySQL or another control panel is already present, the installer will either refuse or produce a broken stack. There is no supported way to uninstall Plesk afterwards — you rebuild the server.
Step 1: Prepare the Server
Set a fully qualified hostname that is not the same as any domain you plan to host, and make sure it resolves:
hostnamectl set-hostname server.example.com
hostname -f

# AlmaLinux / Rocky
dnf update -y

# Ubuntu / Debian
apt update && apt upgrade -y
Create an A record for that hostname pointing at the server IP before you install — it makes issuing a valid SSL certificate for the panel painless later.
Step 2: Run the Plesk Installer
The one-click installer works identically on all supported distributions. Run it inside screen or tmux so a dropped SSH session doesn’t abort a 20-minute install:
screen -S plesk
sh <(curl https://autoinstall.plesk.com/one-click-installer || \
     wget -O - https://autoinstall.plesk.com/one-click-installer)
Prefer to choose components yourself? Use the interactive installer instead:
wget https://autoinstall.plesk.com/plesk-installer
chmod +x plesk-installer
./plesk-installer
Pick the Web Host Edition preset unless you have a reason not to — it includes Nginx, PHP-FPM, MariaDB, Postfix/Dovecot and the WordPress Toolkit.
Step 3: First Login and Licensing
Plesk listens on port 8443. Generate a one-time login link rather than hunting for a password:
plesk bin admin --get-login-linkSet the administrator email and a strong password, then install your licence key. Plesk includes a free trial; the free Plesk Web Admin SE edition covers up to three domains if you’re running a small personal server.
plesk bin license --install A00000-B00000-C00000-D00000-E00000
plesk bin license --info
Step 4: Create a Service Plan and Your First Subscription
Plesk separates service plans (the resource template) from subscriptions (a customer’s actual hosting). Build the plan first under Service Plans » Add a Plan, setting disk, traffic, mailbox and PHP limits, then attach subscriptions to it. Change the plan later and every subscription inherits the change.
plesk bin subscription --create example.com \
  -owner admin \
  -service-plan "Unlimited" \
  -ip 203.0.113.10 \
  -login exampleuser \
  -passwd 'ChangeThisPassword'
Step 5: Harden Plesk Before Going Live
A default Plesk install is functional, not hardened. Work through this list in order:
- Secure the panel with a real certificate. Tools & Settings » SSL/TLS Certificates » Secure Plesk issues a free Let’s Encrypt certificate for your hostname and kills the browser warning.
- Enable Fail2Ban. Tools & Settings » IP Address Banning (Fail2Ban). Switch on the jails for
plesk-panel,ssh,plesk-proftpd,plesk-postfix,plesk-dovecotandplesk-wordpress. - Turn on the Plesk Firewall. Tools & Settings » Firewall. Deny everything inbound by default, then permit only 80, 443, 8443, 22, and mail ports you actually use.
- Restrict panel access by IP. Tools & Settings » Restrict Administrative Access — limit ports 8443/8880 to your office or VPN addresses. This single step removes almost all panel brute-force noise.
- Enable two-factor authentication for the admin account via the Google Authenticator extension.
- Harden SSH. Key-only authentication, no root login, and a non-default port.
- Set automatic updates. Tools & Settings » Update and Upgrade Settings — enable automatic installation of Plesk and OS security updates.
- Run the security scan. The Security Advisor extension audits weak SSL/TLS settings, missing certificates and outdated PHP handlers, and fixes most of them for you.
Step 6: Configure Backups Before You Need Them
Under Tools & Settings » Backup Manager » Remote Storage Settings, point backups at somewhere that is not the same server — FTP, S3, Google Drive or Dropbox. Then schedule them:
# Full server backup to the configured remote storage
plesk bin pleskbackup server --output-file=/dev/stdout | ...

# Verify the scheduled task exists
plesk bin scheduler --list
A backup you have never restored is a hypothesis. Restore one subscription to a test domain and confirm it actually works.
Useful Plesk CLI Commands
plesk version                      # Version and OS details
plesk repair all -y                # Fix broken configs, permissions, DB
plesk bin service --restart-all    # Restart every managed service
plesk log                          # Tail the panel log
plesk installer --select-release-current --upgrade-installed-components
plesk repair all is the command that resolves the majority of “it worked yesterday” problems — run it before you start debugging by hand.
Conclusion
Installing Plesk Obsidian is a single command on a clean AlmaLinux or Ubuntu server. What separates a solid Plesk box from a liability is what you do next: a real certificate on port 8443, Fail2Ban enabled, the firewall closed by default, panel access restricted by IP, 2FA on the admin account, automatic updates, and off-server backups you have actually tested. Do those eight things and the panel will look after itself.