
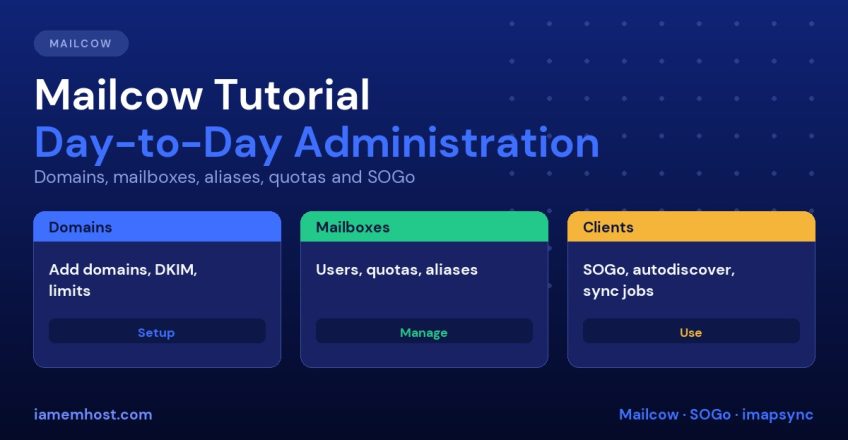

Once Mailcow is running (see How to Install Mailcow with Docker), most of your work happens in its web interface. This Mailcow tutorial walks through day-to-day administration: adding domains, creating mailboxes and aliases, setting quotas, publishing DKIM, using SOGo webmail, connecting mail clients and migrating existing mail with sync jobs.
Menu names can vary slightly between Mailcow versions, and the interface changes over time. The Mailcow documentation at docs.mailcow.email is the reference for your version.
Mailcow Tutorial: Signing In and Securing the Admin Account
Open https://mail.example.com/admin. If you have just installed, change the default admin password immediately and enable two-factor authentication for the admin account. Create a second admin user for day-to-day work so that the main account is used rarely. Restrict who can reach the admin interface where you can, for example by firewall or VPN; see our Linux server hardening guide.
Adding a Domain
In the admin interface, open the mail setup section and choose Domains » Add domain. The main settings are:
| Setting | What it does |
|---|---|
| Domain name | The domain you receive mail for, such as example.com |
| Description | A label for your own records |
| Max. mailboxes / aliases | Limits per domain, useful for reseller and client setups |
| Default mailbox quota and max quota | Controls space per mailbox |
| Domain quota | Total storage for the whole domain |
| Rate limit | Limits outgoing messages for the domain, which helps contain a compromised account |
| Relay options | Use another host to deliver outgoing mail, if required |
Add the matching DNS records (MX, SPF, DMARC, autodiscover and autoconfig CNAMEs) at your DNS provider. For deliverability, see How to Configure SPF, DKIM and DMARC.
Publishing the DKIM Key
Each domain needs its own DKIM key. In the domain’s settings (the DKIM area of the configuration), generate a key with a selector (the default is dkim) and a 2048-bit length, then publish the shown TXT record:
dkim._domainkey.example.com. IN TXT "v=DKIM1;k=rsa;t=s;s=email;p=MIIBIjANBgkqh..."Test it after DNS has propagated by sending a message to a mailbox at Gmail and checking Show original for DKIM: PASS. Plan a periodic key change; see DKIM key rotation.
Creating Mailboxes
Go to Mailboxes » Add mailbox and fill in:
- The local part (the part before the
@) and the domain - The full name, and a password (or a password-reset method)
- Quota in MiB (0 means unlimited, which is rarely wise)
- Whether the mailbox is active, and which protocols it may use (IMAP, POP3, SMTP, Sieve, SOGo access)
- Optionally force password change at first login and enable two-factor authentication
Good habits: set a sensible default quota per domain, give no mailbox unlimited space, use long generated passwords, and let users add a second factor. Mailboxes on the same domain share the domain quota, so watch the total.
Aliases, Catch-Alls and Forwarding
An alias is an extra address that delivers to one or more existing mailboxes. Under Aliases » Add alias:
- Enter the alias address (for example
sales@example.com) and the destination mailbox or mailboxes - Use
@example.comas the alias address to create a catch-all for the domain. This catches mistyped addresses but also spam, so use it with care - Use internal aliases when you want an address that only your own users can send to
- A mailbox-level forwarding can be set by users in SOGo or by the admin; remember that forwarding to outside addresses can create SPF/DMARC failures. See ARC headers explained
For shared mail such as info@, an alias to several staff mailboxes is simple, and a shared folder in SOGo is better when people need to handle and track the messages.
Quotas and Housekeeping
- Watch storage use in the mailbox list and the domain overview. A full mailbox bounces or defers incoming mail
- Set quota warning limits so users are told before they are full
- Remove inactive mailboxes properly, since deleting a mailbox deletes its mail. Back up first. See Mailcow Backup, Update and Migration
- Check the logs page for authentication failures and delivery problems, and the queue view for stuck messages
Using SOGo Webmail, Calendar and Contacts
SOGo is available at https://mail.example.com/SOGo. Users sign in with their full email address and password, and can use webmail, calendars, address books and shared folders. Typical tasks:
- Configure signatures, forwarding and vacation (out-of-office) replies in the preferences
- Share folders, calendars and address books with colleagues using the sharing options
- Connect phones and desktop apps through CalDAV and CardDAV, which SOGo supports
- Manage Sieve mail filters through the filters settings
Administrators can also let users open SOGo directly from the Mailcow user panel, and users can manage app-specific passwords and spam settings from that panel.
Connecting Mail Clients
With the autodiscover and autoconfig DNS records in place, Outlook, Thunderbird and many phone clients configure themselves from the email address and password. Manual settings:
| Setting | Value |
|---|---|
| Incoming (IMAP) | mail.example.com, port 993, SSL/TLS |
| Outgoing (SMTP) | mail.example.com, port 465 (SSL/TLS) or 587 (STARTTLS) |
| Username | The full email address |
| POP3 (if enabled) | Port 995, SSL/TLS |
If clients show certificate warnings, check that the Let’s Encrypt certificate is valid for the host name they are connecting to, and that the autodiscover host name is covered.
Migrating Existing Mail with Sync Jobs
Mailcow includes sync jobs that use imapsync to pull mail from another IMAP server into a Mailcow mailbox. In the user’s panel (or the admin interface), define the source server (host, port, encryption) and then create a sync job that selects it. The interface offers presets for common providers such as Gmail, Yahoo, iCloud and, for administrators, Microsoft 365 and Google Workspace. Points to know:
- The source must be a real remote host. It cannot be Mailcow itself
- Admins can set the number of parallel jobs and bandwidth limits in the system configuration
- Sync jobs can run repeatedly, so you can do a first full copy and short top-up runs before switching MX records
When moving from the cloud, read Why Self-Hosted Email Can Beat M365 and Google for the planning side.
Security and Housekeeping Checklist
- Strong admin and user passwords, with two-factor authentication enabled
- Rate limits on domains and mailboxes
- Fail2Ban-style protection: Mailcow includes its own netfilter container that blocks repeated failed logins. Review banned IPs in the admin interface
- Regular updates with
./update.shand tested backups - Review logs weekly, and watch the mail queue
- Publish and check SPF, DKIM, DMARC, and the reverse DNS record
Frequently Asked Questions
How do I create an email address in Mailcow?
Add the domain, then use Mailboxes » Add mailbox to create the address with a password and quota.
What is the difference between an alias and a mailbox?
A mailbox stores mail and has its own login. An alias is an extra address that delivers into one or more existing mailboxes.
Where do users read their mail?
At https://mail.example.com/SOGo, or in any IMAP client such as Outlook, Thunderbird or a phone mail app.
Can I limit how much mail a domain can send?
Yes. Use the rate limit settings on domains and mailboxes to cap outgoing messages and reduce the damage if an account is compromised.